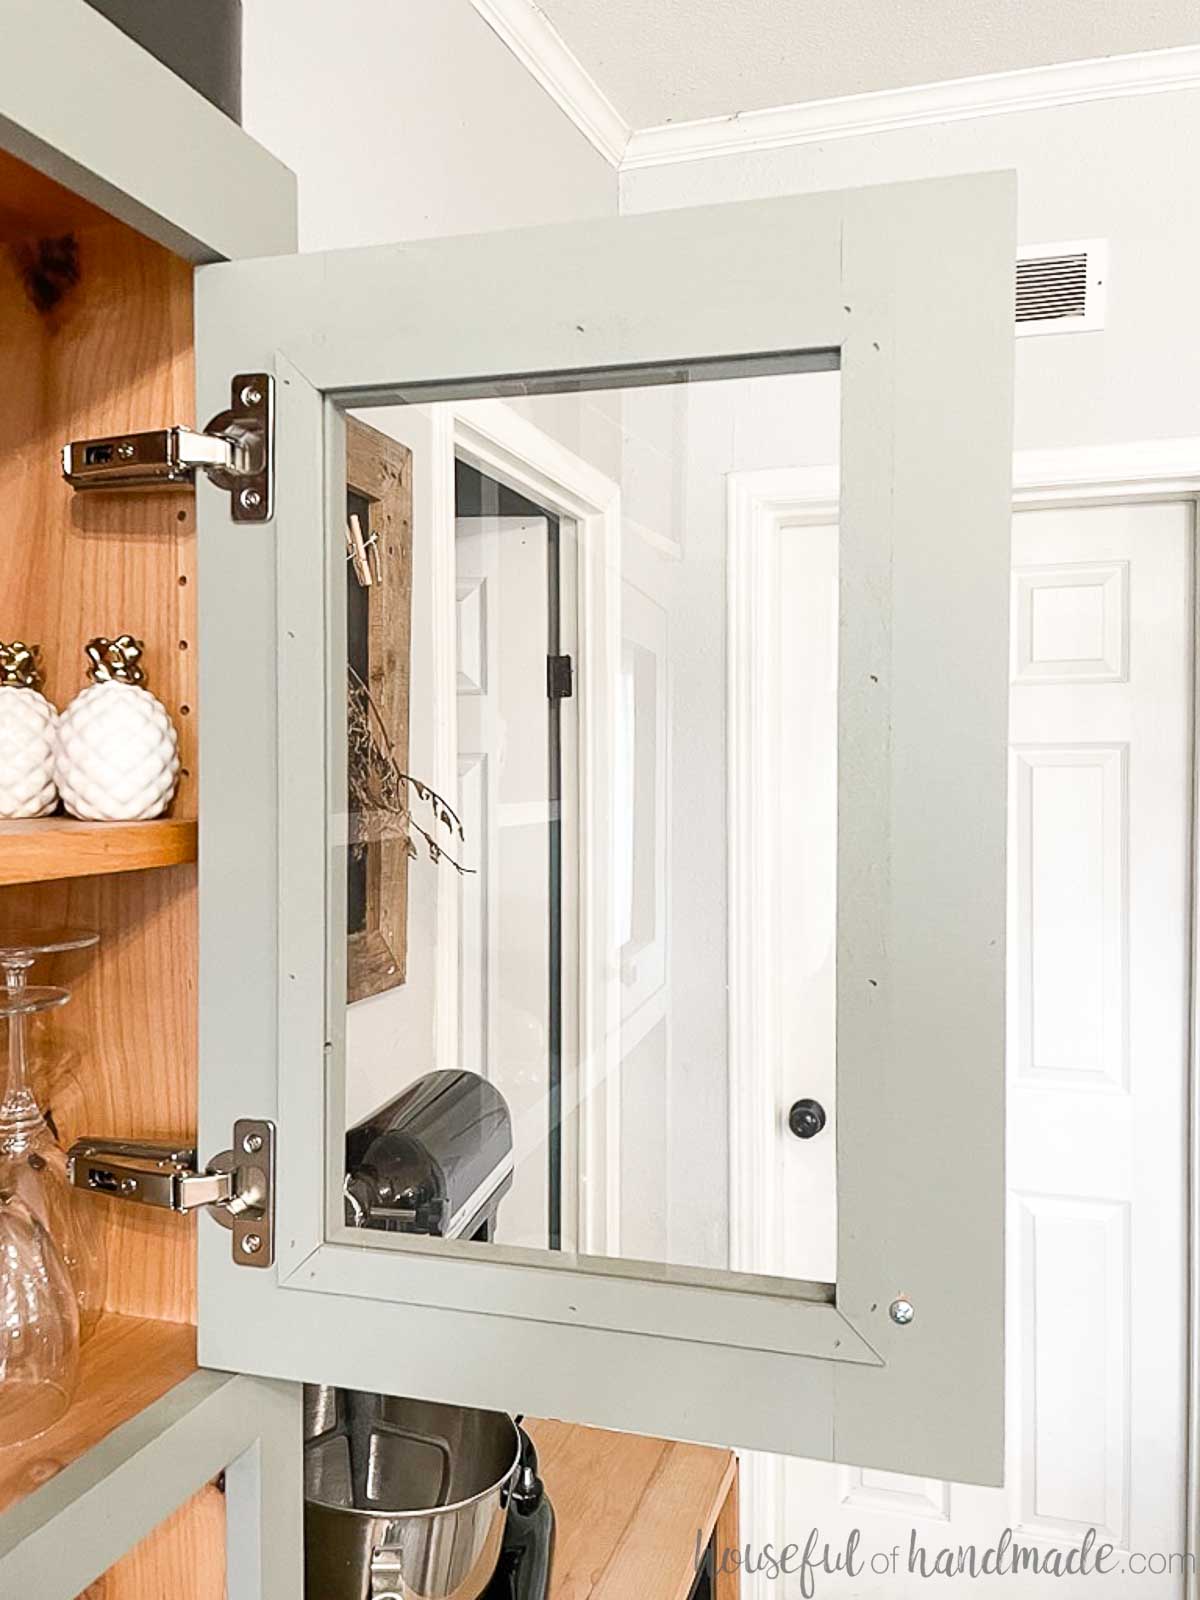
Build a simple rail-and-stile frame, add a groove or rabbet, insert tempered glass, then secure it cleanly.
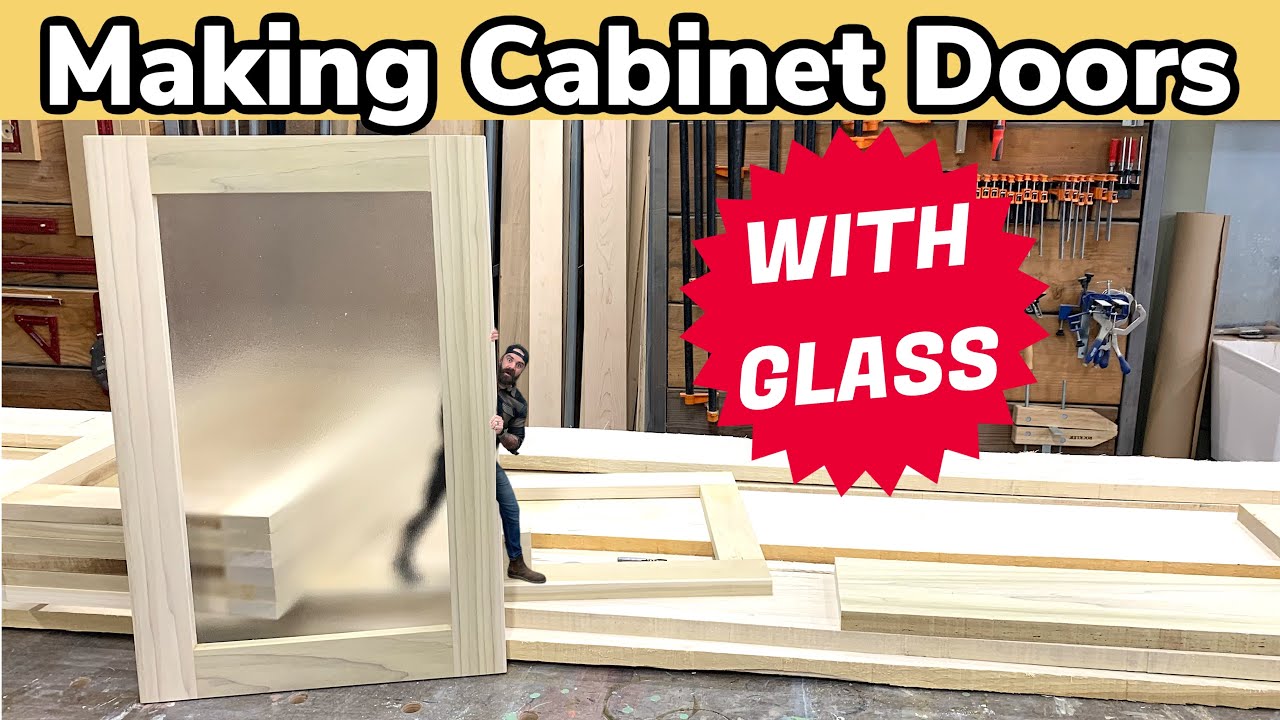
If you want to learn how to make cabinet doors with glass that look custom, last for years, and fit right the first time, you’re in the right place. I’ve built dozens of glass cabinet doors in small shops and on site. In this guide, I’ll show you what works, what to avoid, and how to get pro results with common tools, clear steps, and smart checks you can trust.
Plan the build: anatomy, styles, and glass choices
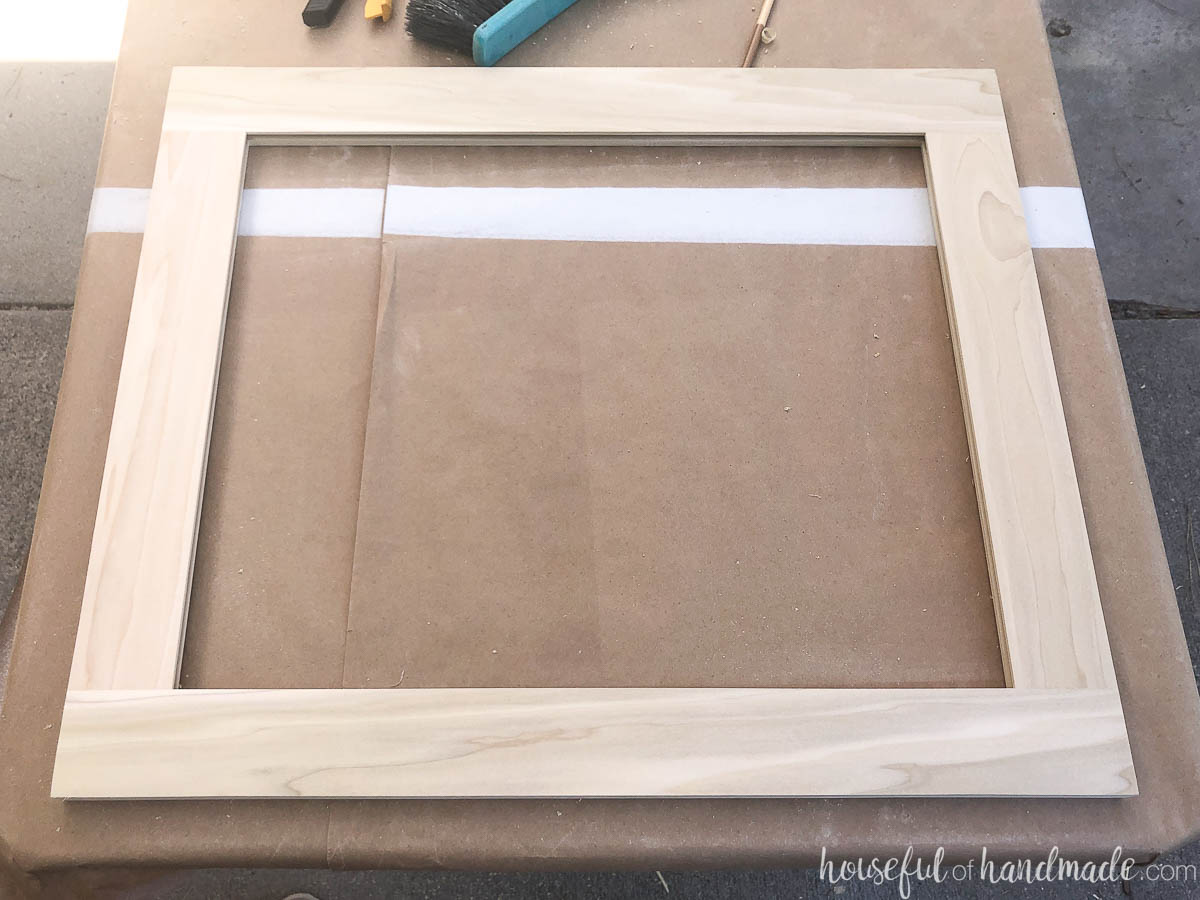
A glass cabinet door is a rail-and-stile frame with a glass panel held in a groove or a rabbet. Stiles run vertical, rails run horizontal. You can join them with cope-and-stick bits, mortise and tenon, dowels, or pocket screws.
Choose your glass:
- Tempered safety glass is best for kitchens, baths, and anywhere kids play.
- Annealed glass works for low-risk spots, but it breaks into sharp shards.
- Acrylic or polycarbonate is light and safe but scratches more.
- Textured, frosted, or seeded glass hides clutter but keeps light.
How the glass seats:
- Groove build: Rout a 1/4 inch groove in rails and stiles. Glass floats in the frame. Secure with silicone, rubber bumpers, or wood stops.
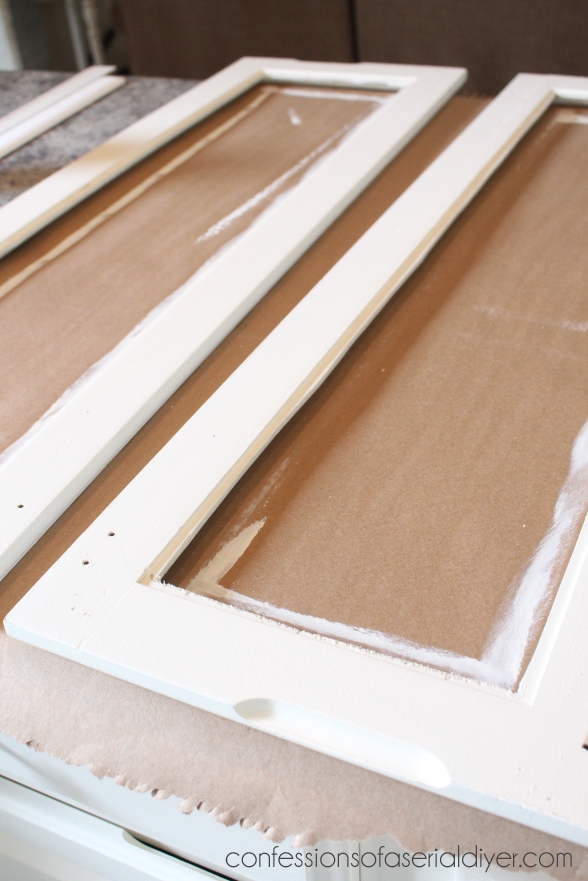
- Rabbet build: Cut a back rabbet and set the glass from the rear. Pin with glazing points or wood stops. This is great for retrofit work.
My rule in the shop: if a door is near heat, traffic, or a sink, use tempered glass and leave a small clearance on all sides. That prevents stress cracks and rattles.
Quick questions you might be asking
- Can I keep it simple for my first try? Yes. Use a Shaker profile, a 1/4 inch groove, and wood stops. It’s forgiving and clean.
- Will pocket screws work? Yes, for paint-grade doors. Hide holes on the inside and clamp well for flat joints.
- How big should reveals be? Aim for 2 mm to 3 mm even gaps around the door for an inset look, or follow hinge specs for overlay.
Materials and tools you’ll need
Materials:
- Straight, dry hardwood or paint-grade softwood for rails and stiles
- Tempered glass, most often 1/8 inch (3 mm) to 3/16 inch (5 mm)
- Wood stops or glazing points, bumpers, and clear silicone
- Glue rated for wood joinery
- Hinges, pulls, and optional magnetic catches
Tools:
- Table saw or miter saw for sizing
- Router with straight bit or cope-and-stick set, plus router table if possible
- Chisels, marking gauge, square, and tape
- Clamps and cauls for flat glue-ups
- Random orbit sander and sandpaper
- Drill/driver with hinge jig or Forstner bit for Euro hinges
- Safety gear: glasses, hearing protection, gloves for handling glass
Pro tip from the bench: I prefinish parts before assembly on paint-grade doors. It keeps finish lines crisp and saves time masking the glass later.
Safety and glass basics you should know
- Handle tempered glass with clean gloves. Do not grind or cut tempered glass at home. Order it to size.
- Use annealed glass only when risk is low and code allows. In many places, doors near ranges or baths need tempered.
- Leave clearance. I like 1/16 inch on each edge for small doors, a hair more for wide spans.
- Do not pin through the edge of tempered glass. Use silicone dots, rubber bumpers, or wood stops.
If you ever hear a tiny “tick” while setting glass, stop. Something is binding. Remove, check your rabbet or groove, and ease the edges.

Step-by-step: how to make cabinet doors with glass
Follow these steps to learn how to make cabinet doors with glass in a calm, steady way. Keep parts labeled and check square as you go.
- Measure and plan
- Measure the cabinet opening at three points both ways. Note the smallest size.
- Decide on inset or overlay hinges. Follow your hinge maker’s overlay specs.
- Sketch the rail-and-stile layout. Standard stile width is 2 to 2.5 inches. Rails match.
- Mill the wood
- Joint, plane, and rip your stock to final thickness and width.
- Cut stiles to full door height. Cut rails to width minus joint allowances.
- Cut joinery and grooves
- Groove method: Rout a 1/4 inch wide, 3/8 inch deep groove centered in all pieces.
- Cope-and-stick bits: Cope rails, stick the stiles. Dry fit to confirm a tight, flush seam.
- Mortise and tenon method works great for larger doors. Keep tenons snug but not tight.
- Dry fit the frame
- Assemble without glue. Check for twist on a flat surface.
- Measure inside the groove to get your glass size. Subtract about 1/8 inch total for clearance.
- Order the glass
- Order tempered glass to your final size. For light doors, 1/8 inch tempered is common. For wider doors, 3/16 inch adds stiffness.
- Ask for flat, seamed edges to cut down on chipping risk during install.
- Sand and prefinish
- Break sharp edges. Sand to 180 or 220 grit.
- For paint-grade, prime now. For stain-grade, seal the groove/rabbet lightly so squeeze-out cleans easier.
- Glue and clamp the frame
- Glue only the wood joinery surfaces. Do not glue the glass groove.
- Clamp with cauls to keep the face flat. Check diagonal measurements for square.
- Set the glass
- Add tiny silicone dots or clear bumpers in the rabbet or groove.
- Lay the glass in place. It should sit flat with light finger pressure and no binding.
- Secure the glass
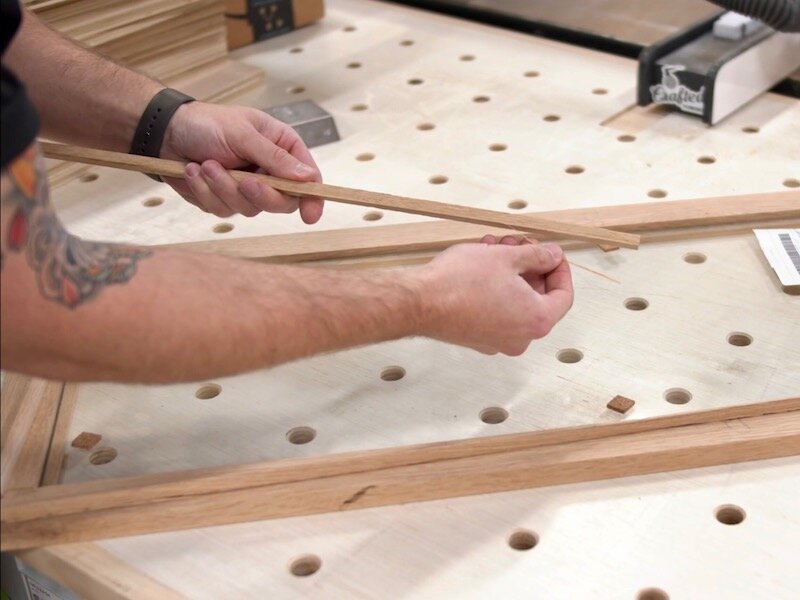
- Wood stops: Cut thin strips with a small bevel. Miter clean corners. Pin or brad into the frame, not the glass. A tiny bead of clear silicone behind the stop helps prevent rattle.
- Glazing points: Press into the wood to hold the pane, then run a neat bead of silicone.
- Final sand and touch-ups
- Fill nail holes. Sand stops flush if needed.
- Wipe clean. Mask the glass edge for a tidy paint line or apply finish now for stain-grade.
Pro tips that save headaches:
- Label every piece. I mark face and hinge side with pencil arrows.
- Clamp pressure should be firm, not extreme. Too much pressure bows frames.
- If you paint, back-prime stops. It stops moisture from creeping and prevents future rattles.
Common fit issues and quick fixes:
- Door out of square: Pull diagonal across the long dimension with a clamp while glue sets.
- Rattle after install: Add thin silicone dots behind stops at mid-span.
- Minor chip on the back edge of wood: A small chamfer hides it and reduces future chips.
Hang the doors: hinges, alignment, and hardware
- Choose hinges first. Euro cup hinges offer easy adjustment for overlay and inset. Butt hinges work well on face frames.
- For Euro hinges, drill a 35 mm cup at the set back your hinge maker lists. Test on scrap first.
- Install hinges, then hang the door. Adjust up/down, in/out, and side-to-side until gaps look even.
- Add a magnetic catch or soft-close if needed. Fit the pull last, centered and square.
Shop note: When I teach beginners how to make cabinet doors with glass, we set a temporary shim under the door on the cabinet floor. It holds the weight while you mark screw holes. Simple and safe.

Finish and seal for a clean, durable look
- Paint-grade: Caulk tiny seams at the inside edge of stops with a thin bead. Paint with a fine roller and tip off with a soft brush.
- Stain-grade: Wipe on stain evenly. Seal with a clear coat. Keep finish off silicone areas to prevent fisheyes.
- Mask the glass edge with low-tack tape. Pull tape while the last coat is just tacky for the sharpest line.
If you expect steam or splashes, use a durable urethane topcoat and seal the top edge of the door well.
Design choices to elevate your door
- Shaker glass door: Straight lines, 2 to 2.5 inch rails and stiles. Pairs with any kitchen.
- Mullions or grids: Use thin wood bars or applied muntins. Keep glass as one pane for strength.
- Frosted or reeded glass: Hides clutter but lets light pass.
- Lighting: Add LED strips inside cabinets. Use warm color for a cozy feel.
A small bead detail or a soft chamfer on the inside edge frames the glass and looks refined without extra tools.

Cost, time, and sourcing
- Wood: 20 to 60 dollars per door depending on species and size.
- Glass: 25 to 80 dollars per pane for tempered, more for custom textures.
- Hardware: 8 to 25 dollars per hinge pair, plus pulls.
Time plan I use when teaching how to make cabinet doors with glass:
- Day 1: Mill parts, cut joinery, dry fit.
- Day 2: Glue frames, sand, order glass.
- Day 3: Fit glass, add stops, finish, and hang.
Tip: Local glass shops cut cleaner and offer advice on clearances. Bring a cardboard template if your door isn’t square.

Troubleshooting and mistakes to avoid
- Groove too tight: Ease it with a light pass on the router table. Never force the glass.
- Pocket screws without clamps: The joint shifts and twists. Always clamp.
- No prefinish: Paint lines on glass get messy. Masking takes longer than a quick pre-prime.
- Over-nailing stops: One brad per 6 to 8 inches is enough. Too many fasteners telegraph and can split thin frames.
- Skipping hinge tests: Always drill one test cup in scrap and swing the door before drilling the rest.
If your first door feels slow, that’s normal. The second one usually takes half the time.
Care and maintenance
- Clean glass with a non-ammonia cleaner or mild soap. Wipe the wood dry after.
- Check hinges every six months. A quarter turn on adjusters fixes sag and keeps reveals even.
- If a stop loosens, add one drop of thin CA glue or a short brad.
Frequently Asked Questions of how to make cabinet doors with glass
What thickness of glass should I use?
For small doors, 1/8 inch tempered works well. For wide or tall doors, 3/16 inch adds stiffness and reduces rattle.
Can I retrofit glass into a solid wood door?
Yes. Rout a back rabbet, remove the wood panel, and add glass with stops. Check for tempered glass if the door is in a high-risk area.
Do I need tempered glass in kitchen cabinets?
In many homes, tempered is recommended near heat, impact zones, or where kids play. It breaks into small pellets, which reduces injury risk.
How do I stop the glass from rattling?
Use clear silicone dots or thin rubber bumpers between the glass and stop. A tiny continuous bead of silicone also works and remains flexible.
What wood is best for glass cabinet doors?
Hard maple, poplar (for paint), and oak are stable and easy to machine. Avoid knotty or twisted stock that can warp.
Should I paint before or after setting the glass?
Prefinish parts or at least prime before glass install for sharp lines. Mask the glass edge for a clean, pro look.
Can I use pocket screws for the frame?
Yes, for paint-grade or utility builds. Clamp tight, glue the joint, and hide pockets on the inside.
Conclusion
You now know how to make cabinet doors with glass from plan to polish. Pick a simple Shaker frame, use a clean groove or rabbet, order tempered glass with a bit of clearance, and secure it with tidy stops. Work slow, check square often, and you’ll get a smooth swing and quiet close.
Try one door as a test, then batch the rest for speed. If this guide helped, subscribe for more shop-proven builds, ask a question in the comments, or share a photo of your finished doors.